Last updated: October 22, 2026
Quick Answer: Most sink drain clogs can be cleared safely in 20 to 30 minutes with a stopper cleanout, a sink plunger, and a bucket under the trap.
A sink drain clog in How to Unclog a Sink Drain Safely is usually a shallow blockage in the stopper, trap, or first bend of the pipe, and you can clear many of them safely with a plunger, a bucket, or a little patience. The key is to start with the least aggressive fix and stop before you force a problem deeper into the plumbing.
Key takeaways
- Start with the simple stuff: pull the stopper, remove visible debris, and try a sink plunger before you reach for harsher methods.
- Use a bucket under the drain trap so you can open it without dumping water into the cabinet.
- Baking soda and vinegar can help with greasy buildup, but they are not a cure for a hard plug; if the clog persists, consult a licensed plumber and follow EPA guidance on safe drain care.
- If the sink backs up again quickly, or if both basins in a double sink are affected, the clog may be beyond the trap.
- Avoid mixing chemical drain cleaners with anything else; that is where the damage and splash risk rise fast.
First, figure out where the sink drain clog is
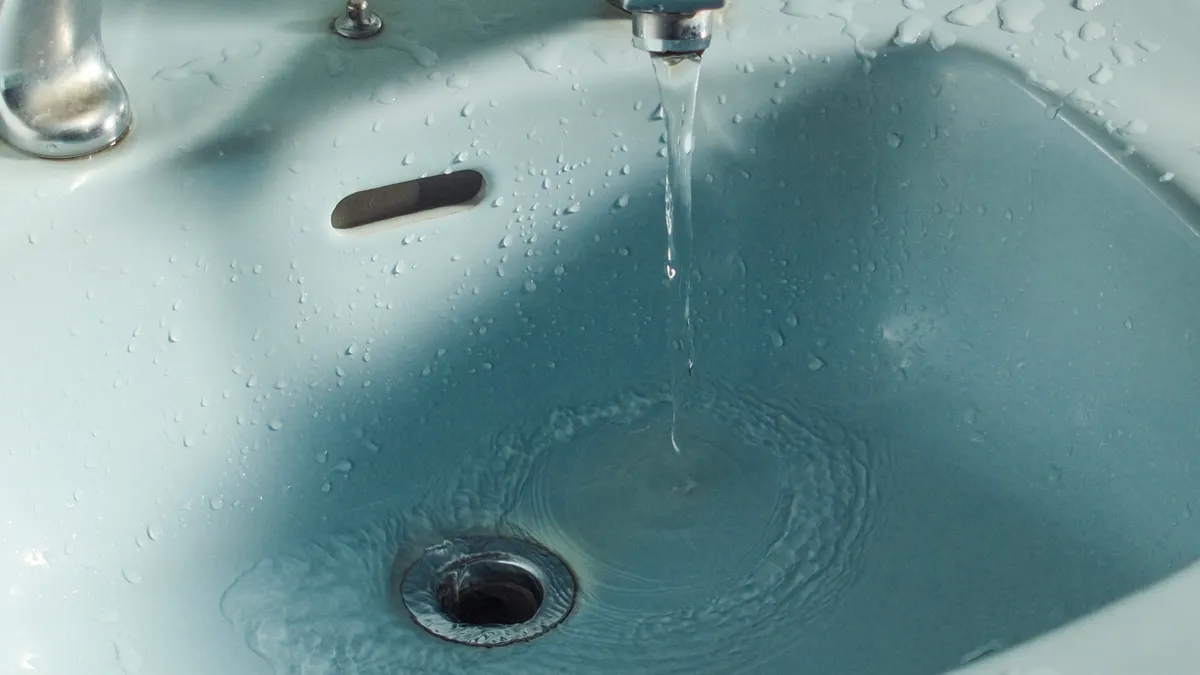
The fix depends on whether the blockage sits in the stopper, the trap, or deeper in the line. If water pools in the sink but drains slowly after a few minutes, the clog is often near the top. If the sink stops draining almost completely and gurgles, the blockage may be farther down the pipe, past the drain trap.
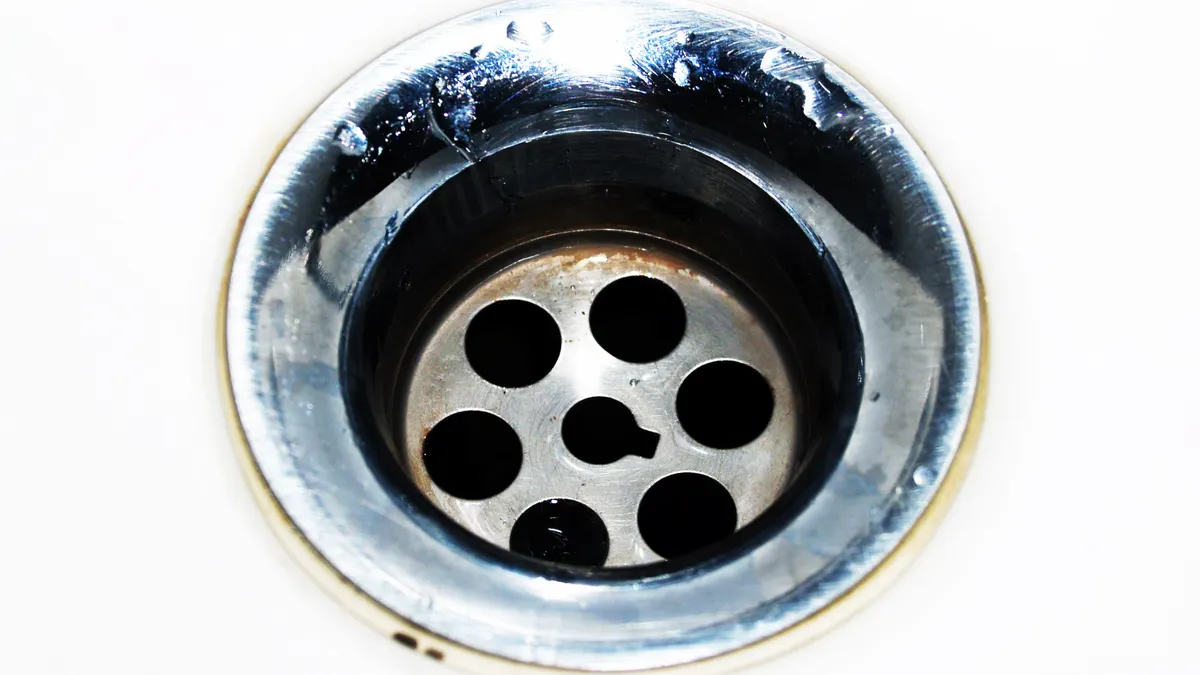
Start by lifting out the pop-up stopper if your sink has one. In many bathroom sinks, hair and soap scum collect right on the stopper stem and in the throat below it. If the stopper comes out coated with sludge, you may solve the whole problem by cleaning that part alone. A 10-minute cleaning can save you from dismantling the trap.
If you have a double-bowl kitchen sink and both sides are slow, that points to a shared line rather than one basin. If only one side is clogged, the issue may still be local to that bowl. This matters because a sink plunger helps with shallow clogs, while a deep blockage beyond the trap usually does not move with air pressure alone.
A simple way to think about it:
- Slow drain, no backup: likely grime or soap buildup.
- Standing water in one sink: likely a partial clog near the trap or stopper.
- Both bowls affected or repeated backup: likely beyond the trap.
That distinction keeps you from overworking the pipe. It also keeps you from wasting time on a method that is wrong for the job.
What you need before you start
You only need a few ordinary tools: a sink plunger, a bucket, rubber gloves, and a towel. A pair of channel-lock pliers helps if the drain trap has slip nuts that are stuck, and a small brush or an old toothbrush helps clean the stopper parts.
Have the sink emptied as much as possible before you begin. If the basin is full, bail water into another container first so you can work without splashing dirty water around the rim. Put a towel under the cabinet doors, because even a careful trap cleaning can drip for a minute or two.
If you plan to try baking soda and vinegar, keep it modest. A common home method uses about 1/2 cup of baking soda followed by 1/2 cup of vinegar, then a wait of 10 to 15 minutes. That method can help loosen residue, but it is not a substitute for removing a stopper full of hair or a trap packed with grease.
Do not start with a metal snake if the page you landed on is about safe unclogging. That tool is useful in the right hands, but it is not the first move here, and forcing it can scratch fixtures or push the blockage farther down. This guide is for the safe, basic fixes that fit most everyday sink drain clogs.
How to unclog a sink drain safely, step by step
Use the stopper, the plunger, and the drain trap in that order, because that sequence clears the most common blockages with the least risk.
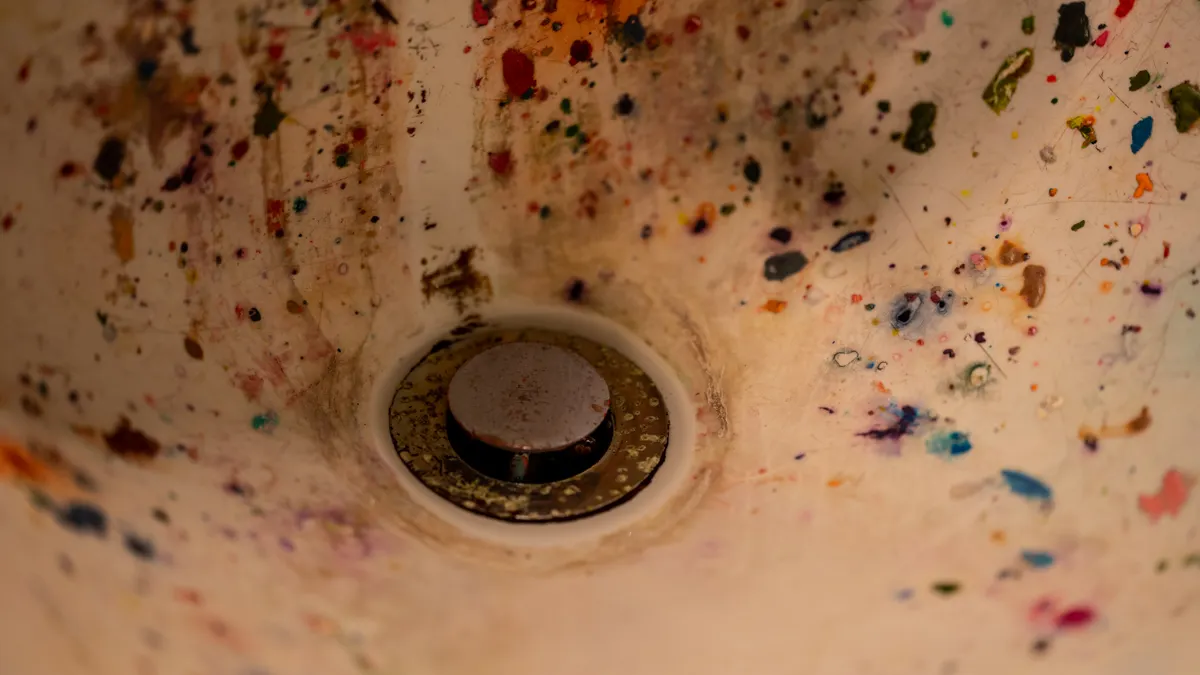
- Remove the pop-up stopper and clean it. Pull it out or disconnect it from below the sink, depending on the design, then wipe off hair, soap, and grease with a paper towel. When it works, you will see the stopper slide out cleaner and the drain opening look visibly wider.
- Scoop out standing water until the sink is only partly full. Leave enough water to cover the plunger cup by about 1 inch. A sink plunger needs that seal to move pressure through the drain instead of splashing air.
- Block the overflow opening if the sink has one. Use a wet rag or tape so air does not escape there. If this works, the plunger will feel firmer and the water column will move instead of bobbing weakly.
- Plunge in short, controlled strokes for 20 to 30 seconds. Keep the cup centered over the drain and pump briskly, not violently. The water should begin to drop in a visible rush or start draining in pulses if the clog is loosening.
- Run hot tap water for 30 to 60 seconds. This helps wash away loosened residue. The sink should drain steadily instead of slowing again immediately.
- If the clog remains, place a bucket under the drain trap and remove the trap. Loosen the slip nuts slowly so water drains into the bucket. If the clog sits in the trap, you will often see gunk or a hard plug inside the curved section.
- Clean the trap and reassemble it snugly. Rinse the trap, wipe the washers, and tighten the nuts by hand, then give them a small finish turn with pliers if needed. When it works, the sink should drain normally without leaking from the joints.
- Flush with hot water and check for leaks for 2 minutes. Watch both the drain and the trap connections. A successful repair leaves the cabinet dry and the sink emptying at a normal pace.
The order matters. Cleaning the stopper first often removes the blockage without opening pipes. The plunger comes next because it can clear soap scum and loose debris without disconnecting anything. The trap comes last because it is the messiest step, but it is also the one that reaches clogs that sit right around the bend.
A common mistake is plunging with the overflow opening uncovered. That wastes pressure and makes the plunger feel weak. Another mistake is using excessive force. Hard pumping can splash contaminated water and can stress older joints. Gentle, repeated pressure is more effective than a few violent strokes.
If the sink is a bathroom vanity, be extra careful with the trap nuts. Plastic fittings crack if you overtighten them, and older metal traps can seize if you wrench them hard. Tight plus a small additional turn is usually enough.
Can baking soda and vinegar help a sink drain clog?
Yes, baking soda and vinegar can help with light greasy buildup, but they will not break apart a packed hair clog or a hard plug in the trap. That trade-off matters because this method is safe and inexpensive in the usual kitchen sense, yet it is also limited.
Use it after you have cleaned the stopper, not before. Pour about 1/2 cup of baking soda into the drain, then follow with about 1/2 cup of vinegar. Let it foam for 10 to 15 minutes, then flush with hot water. If the sink starts draining better, the clog was probably soft residue rather than a solid obstruction.
This works best on mild kitchen buildup, where grease and soap film collect on the pipe walls. It is less useful in bathroom sinks where hair forms the main blockage. If a bathroom sink still drains slowly after this treatment, go back to the stopper and trap instead of repeating the mixture five times.
Do not treat this like a cure-all. A clogged sink drain that returns the same day usually has a physical obstruction that needs removal. Repeating baking soda and vinegar over and over can make you feel productive while the real blockage stays put; if the drain still slows, consult a plumber and follow EPA advice on drain-safe methods.
Also, do not combine this approach with a chemical drain cleaner. Mixing products can create splatter or heat inside the pipe, which is the opposite of safe. If you already poured in a commercial cleaner, stop and follow the product label carefully, and if the drain still will not clear, contact a licensed plumber.
For a broader overview of pipe-safe methods, the drain cleaning hub can sit above this page as the next step in the topic family.
How to clean the stopper and drain trap without making a mess
You can clean both parts safely if you keep a bucket under the trap and work slowly. The stopper and trap are where a lot of ordinary sink clogs live, and cleaning them directly is often faster than trying to dissolve the blockage.
On a pop-up bathroom sink, hair wraps around the pivot rod and stopper stem. Pull the stopper up and inspect the underside with a flashlight. A small wad of hair, dental floss, or soap scum can block the opening enough to slow the sink badly. Wipe the stem clean, rinse the stopper, and clean the opening with a toothbrush or cloth.
For the drain trap, place a bucket directly beneath the U-shaped section before loosening anything. The trap can hold several cups of dirty water, even if the sink itself is almost empty. Loosen the slip nuts by hand first. If they are stuck, use pliers gently on the nut, not on the pipe itself.
Once the trap is open, dump the contents into the bucket and check for a compact clog. Kitchen traps often hold greasy sludge or food residue. Bathroom traps more often hold hair and soap residue. Rinse the trap in a sink or tub, then check the washers before reassembly. A flattened or crooked washer can cause a drip even when the clog is gone.
The main drawback here is cleanup. This is the messiest part of the job, and it is easy to splash dirty water into the cabinet if you rush. The payoff is strong, though: a trap cleaning can fix a sink that plunging did not touch.
What not to do if you want to protect your pipes
Do not use harsh chemical drain cleaner as your first move, and do not mix different cleaners. That is the quickest way to create a hazard and possibly damage older pipes or fittings. If you already own a bottle, read the label carefully and treat it as a last resort, not a habit; if the drain still resists, consult a plumber before using it.
Do not force a trap apart with too much torque. Plastic fittings can crack, and older metal traps can seize or strip. If a nut will not budge with reasonable hand pressure and a careful turn, stop and reassess instead of muscling it apart.
Do not keep plunging for 10 minutes straight if nothing changes. That usually means the blockage is not a simple pocket of air or loose debris. At that point, the clog may be deeper than the trap, or something may be lodged in a way that needs a different approach.
Do not ignore recurring slow drainage. If the sink clears and then backs up again within a day or two, the drain likely still holds buildup farther in the line. That pattern is a clue, not a coincidence.
One more limit matters: this guide is for a sink drain clog, not for a toilet or a main sewer issue. If wastewater comes up in more than one fixture, or if you smell sewage near multiple drains, the problem is beyond this page’s scope and likely beyond a simple sink fix.
When a sink drain clog is beyond the trap
A clog may be beyond the trap if plunging, stopper cleaning, and trap removal do not change the drain at all. That is the point where a safe DIY approach starts to lose value and the odds of a deeper blockage rise.
Common signs include repeated backup after a short time, gurgling in nearby fixtures, or a sink that drains only when another fixture is used. In a double sink, if both bowls stay slow after the trap is clean, the shared line may be the real problem. That is not a sink-top issue anymore.
At this stage, the honest choice is to stop pushing the same fixes. A deeper clog may need equipment or access points not covered here, and that is where a plumber earns the call. The goal is not to “beat” the drain; it is to clear it without cracking fittings or creating a leak in the cabinet.
If you want a plumber only when the problem crosses that line, call one when the clog returns after a trap clean, when water rises in other drains, or when you cannot get the trap apart without forcing it. Those are practical thresholds, not dramatic ones.
FAQ
Should I use a plunger on a sink?
A sink plunger is a good first fix for a shallow clog when there is enough water in the basin to cover the cup and when the overflow opening is blocked. If the sink does not respond after 20 to 30 seconds of controlled plunging, move on to the stopper or trap.
How do I clean a sink trap?
Put a bucket under the trap, loosen the slip nuts, and let the water drain into the bucket. Then rinse the curved pipe, wipe the washers, and reassemble it snugly without overtightening. If the trap holds a greasy or hair-packed clog, cleaning it directly is often the fastest solution.
What should I not pour down a drain?
Do not pour harsh chemical drain cleaners down a sink unless the label clearly allows it and you have no safer option left. Do not mix products, and do not pour grease, coffee grounds, or food scraps into a kitchen drain. Those materials build up inside the pipe and make the next clog more likely.
When does a clog mean I need a plumber?
Call a plumber when the sink still will not drain after stopper cleaning, plunging, and trap cleaning, or when the problem returns quickly. You should also get help if multiple fixtures back up, if you smell sewage, or if the trap fittings are cracked, seized, or leaking.
Compare common sink unclogging options
| Method | Best for | Approx. time | Risk level | Notes |
|---|---|---|---|---|
| Stopper cleaning | Hair, soap scum, surface debris | 5 to 10 minutes | Low | Often fixes bathroom sinks before any tools are needed |
| Sink plunger | Shallow clogs near the drain opening | 20 to 30 seconds per round | Low to moderate | Works best with overflow covered and enough water in the basin |
| Baking soda and vinegar | Light greasy buildup | 10 to 15 minutes | Low | Helpful on film, not on hard plugs |
| Trap cleaning | Grease, hair, compact debris in the bend | 10 to 20 minutes | Moderate | Use a bucket and loosen fittings slowly |
| Plumber | Deep clog, repeated backup, leaks | Same day or next available visit | Lowest DIY risk | Best when the clog is beyond the trap or keeps returning |
Helpful sources and related guides
For safety guidance on household drain cleaners, see the U.S. Environmental Protection Agency: https://www.epa.gov/. For plumbing maintenance basics and fixture care, see the Plumbing-Heating-Cooling Contractors Association: https://www.phccweb.org/. For product-specific chemical cleaner instructions, use the manufacturer label and safety data sheet before applying anything to a drain.
For more related reading, see /drain-cleaning-guide, /bathroom-sink-repair, and /kitchen-sink-maintenance.
Drafted with AI; not yet reviewed by a person.